Page 55 - MSAM-1-3
P. 55
Materials Science in Additive Manufacturing                             Characterization of TPMS structures


            A                      B                           geometric parameters were fabricated for microstructural
                                                               characterization. The samples were designated as A0-A0.8,
                                                               B0-B0.8,  C0-C0.8,  D0-D0.8,  E0-E0.8,  and  F1-F4.  An
                                                               illustration of the orientation, sample dimensions, and
                                                               distribution within  the  substrate  for these  Schwarz-P
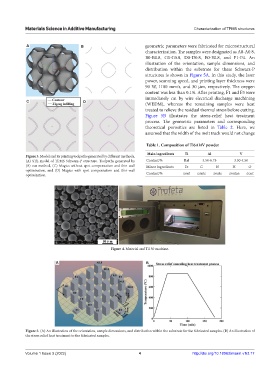
                                                               structures is shown in Figure 5A. In this study, the laser
                                                               power, scanning speed, and printing layer thickness were
                                                               90 W,  1100  mm/s, and 30  μm,  respectively. The oxygen
                                                               content was less than 0.1%. After printing, F1 and F3 were
                                                               immediately cut by wire  electrical discharge  machining
            C                       D                          (WEDM), whereas the remaining samples were heat
                                                               treated to relieve the residual thermal stress before cutting.
                                                               Figure 5B illustrates the stress-relief heat treatment
                                                               process. The geometric parameters and corresponding
                                                               theoretical porosities are listed in  Table 2. Here, we
                                                               assumed that the width of the melt track would not change


                                                               Table 1. Composition of Ti6Al4V powder
                                                                Main ingredients  Ti     Al            V
            Figure 3. Model and its printing toolpaths generated by different methods.
            (A) STL model of TPMS Schwarz-P structure. Toolpaths generated by   Content/%  Bal  5.50-6.75  3.50-4.50
            (B) our method, (C) Magics without spot compensation and thin-wall   Minor ingredients  Fe  C  N  H  O
            optimization, and (D) Magics with spot compensation and thin-wall
            optimization.                                      Content/%       ≤ont  ≤onte  ≤onte  ≤onten  ≤ont


                                                Figure 4. Material and Ti150 machine.


                         A                                     B


            Figure 5. (A) An illustration of the orientation, sample dimensions, and distribution within the substrate for the fabricated samples. (B) An illustration of
            the stress relief heat treatment to the fabricated samples.


            Volume 1 Issue 3 (2022)                         4                      http://doi.org/10.18063/msam.v1i3.17

